Quit Feeling Like a Starving Artist TODAY!

Quit feeling like a starving artist today by working on your artist mindset. Mindset work is an ongoing process but I want to help you quit feeling like a starving artist because I know it doesn’t feel good and it sucks to feel that way! Quitting to feel like a starving artist when you have been feeling that way for a long time is a very difficult task and it won’t be a quick and easy fix! Just remember we all start from somewhere. This idea that a contemporary artist can’t support themselves through their art is frustrating and this “starving artist” story has been around for A LONG TIME! But let’s get rid of it for once and for all! Okay?…

Quit saving your money in  a piggy bank like this and stop feeling like a starving artist

I’m sure you’ve heard this before…

  •  “You can’t make money doing something you love”

  • “You will never make it as an artist”

  • “You can’t make money as an artist”

  • “Why don’t you get a real job?”

  • “Only dead artists make money!”


Are you done feeling small? Hiding your art? Feeling like a failure?

The starving artist is a narrative that is drilled into our brains.

Enough is enough!

The number one trick to being a successful artist is working on your mindset. I believe this is true with any entrepreneur - you need to have a positive and healthy mindset. This is ongoing work that takes time and involves you to change how you think about things, how you see things and who you choose to listen to. 

So how do you work on your mindset to stop feeling like a starving artist? Read my 10 steps to quit feeling like a starving artist below!

Quit Feeling Like a Starving Artist - by following these tips!

Step 1:

You need to start thinking and feeling positive and successful in order to start believing. If you feel negative, like a failure, constantly thinking about how you don’t have art sales or exhibitions then that is the kind of energy you will attract. If you think negative, you feel negative and you  believe those negative thoughts to be true and that this is your reality. Thinking negatively becomes harder to change. So when you start thinking or feeling negatively about your art or your ability as an artist it is important to change those thoughts/feelings immediately.

Step 2: 

Be grateful. When you are talented and creative it is easy to take those abilities for granted. It is important to be grateful for your art talents, your business, your artwork and really remember why you became an artist in the first place. When you are passionate and excited you will keep at it and you will encounter your success.

10 steps to quit feeling like a starving artist. Click the image to pin it.

Step 3:

Stick with it. It’s so easy to give up and say why bother? And I think that’s the difference between a successful artist and non-successful artist. As an artist you face a lot of rejection and a lot of criticism. It’s easy and normal to feel defeated. But your perseverance is what will pull you through!

Step 4: 

Consistency is key! Being a successful artist is about showing up consistently. Post consistently to social media like Instagram, Facebook and Pinterest. Share photos of your art- finished pieces, detail shots and work in progress. Start an email list and share an email to your members every week or every other! Create consistent routines for you like posting to social media every other day, one blog post a week, one email to your list every other week and then stick to those routines. When you follow a schedule for posting content you are seen as reliable and people can count on you when they have a question or will come when they are ready to buy. They will look forward to hearing from you when you establish a consistent schedule! 

desktop with office supplies to plan how to stop feeling like a starving artist

Step 5:

Invest in yourself. As an artist you will need certain supplies. You need to invest in yourself and treat your art as a business in order to be successful. It’ s good to have a website where people can view your art and purchase it. You will need good clear photos of your work. Whether you have a camera and a tripod or you hire a photographer- great quality images are a must! You also probably need programs like Adobe Lightroom and Adobe Photoshop to edit and resize your images. You will need to spend money on art supplies, and materials you need for your practice. If you make videos for example you may need to invest in a better computer. Keep your receipts and speak to your accountant at the beginning of the year if you have any questions!

Step 6:

Reminders, affirmations and lists of achievements. Part of thinking positively and feeling positively is being reminded of what is possible. It’s helpful to post sticky notes with positive affirmations like, “ I am a successful artist” or “People love my work and are happy to pay for it.” These affirmations serve as visual reminders that can help build your confidence which will make it easier for you to feel and believe. When you feel confident it is easier for you to put yourself out there- to apply to exhibitions or to share your art and ask for a sale.

Step 7:

Know your worth. As an artist we are often promised exposure instead of money. While exposure is important you need to know when to say no. If you sell art on your website you need to consider your skills and expertise on the decisions you make for pricing your art. You can read more tips about pricing your art here! 

Step 8:

Know what makes you different. It can seem like there is a sea of artists. But it’s important to stay in your own lane. Focus on what makes you different or unique. Don’t copy someone’s art because it’s popular. Create and find your own style. Make art about what feels right to you. This is difficult and it will take time.

Office supplies and goals sheet to plan how to stop feeling like a starving artist.

Step 9:

Practice and experiment. See your art practice as a journey. You won’t get overnight success. You need to practice and give yourself permission to experiment and test to see what works. You are allowed to change and grow. Remember that.

Step 10:

Get support and ask for help. Being an artist requires you to be many things like a writer, photographer, public speaker, marketer, social media expert, copywriter and more! Don’t expect to be perfect at everything and ask for help with someone with more expertise. Maybe you need to do research, read a book or invest in an online course. It’s also important to get support from friends and family. Ask people to like and comment on your posts. Invite people to look at your website. You don’t know what will happen if you never ask or put yourself out there. 

Too often as artists we are trapped in our heads or are constantly comparing ourselves to other artists. It’s important to follow these steps to help change your mindset from being a starving artist to a thriving artist!  Sometimes it helps just to start making art or to keep making art consistently. If you have been feeling uninspired lately - click here to read some tips that will help!

Jar of coins. Stop saving pennies and become a thriving artist

Related Articles

10 Lessons I Learned in Art School

Why I Became an Artist

The Struggling Artist Secret

Connect with me on Instagram @jackiepartridge_ and send me a DM if this resonated with you!

Want more tips - follow me on social media -by clicking on one of the icons below!

how to stop feeling like a starving artist today. Hands holding money.

5 Tips for Still Life Painting - Paint a Better Still Life!

5 Tips for how to paint a better still life will help improve your still life painting! Painting a still life as a beginner painter can be difficult.

Especially when you are trying to make the painting realistic! I have written a collection of tips to help make this process easier!

There is also an assortment of videos on painting still lives from lemons to eggs and everything in between. You can check out those painting lessons on my acrylic painting for beginners YouTube channel

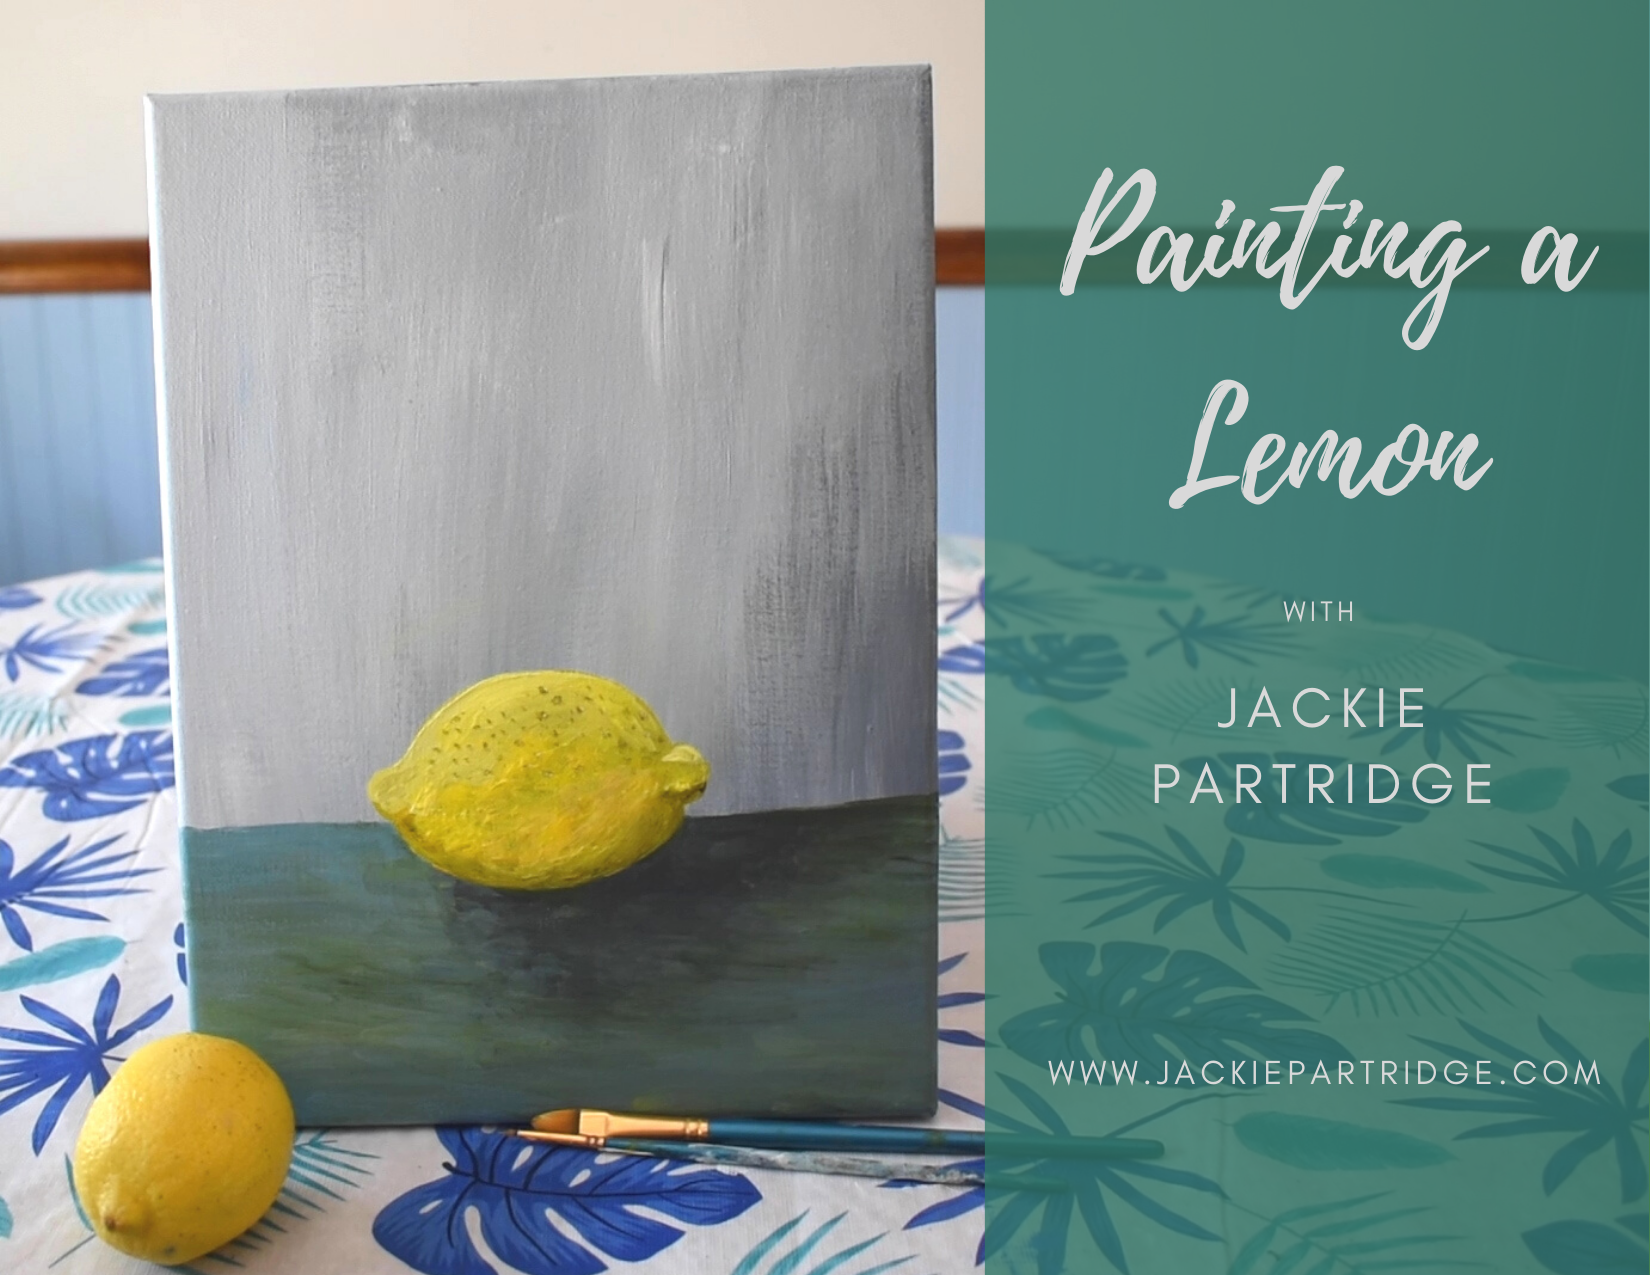
How to Paint a Lemon- watch this video to learn more: https://youtu.be/qdisde0rhRM

How to Paint a Lemon- watch this video to learn more: click here to watch!

Here Are Some Tips to Paint a Better Still Life:

  1. It helps to have your still life set up and arranged in front of you to paint, alternatively you can paint from a colour photograph -however having a real still life like a bowl of fruit or a vase of flowers right there will allow you to see all the tiny details.

  2. Map out your painting in a coloured stick of chalk. A still life is all about painting/drawing what you see. Draw your still life in a stick of chalk. If you make a mistake it will easily rub off -saving you paint and time! Using something like a pencil to draw on the canvas might still show through layers of paint and can be hard to erase.

  3. Exaggerate the highlights and shadows! Shadows and highlights on an object is what makes it look three-dimensional in a painting. You have the creative freedom to express what you see and convince someone that what you are painting is life-like. So darken the shadows and brighten the highlights to make them pop and stand out! A way of doing this is shining a light from a lamp on your still life which will make it more obvious where the highlights and shadows are making it easier to paint!

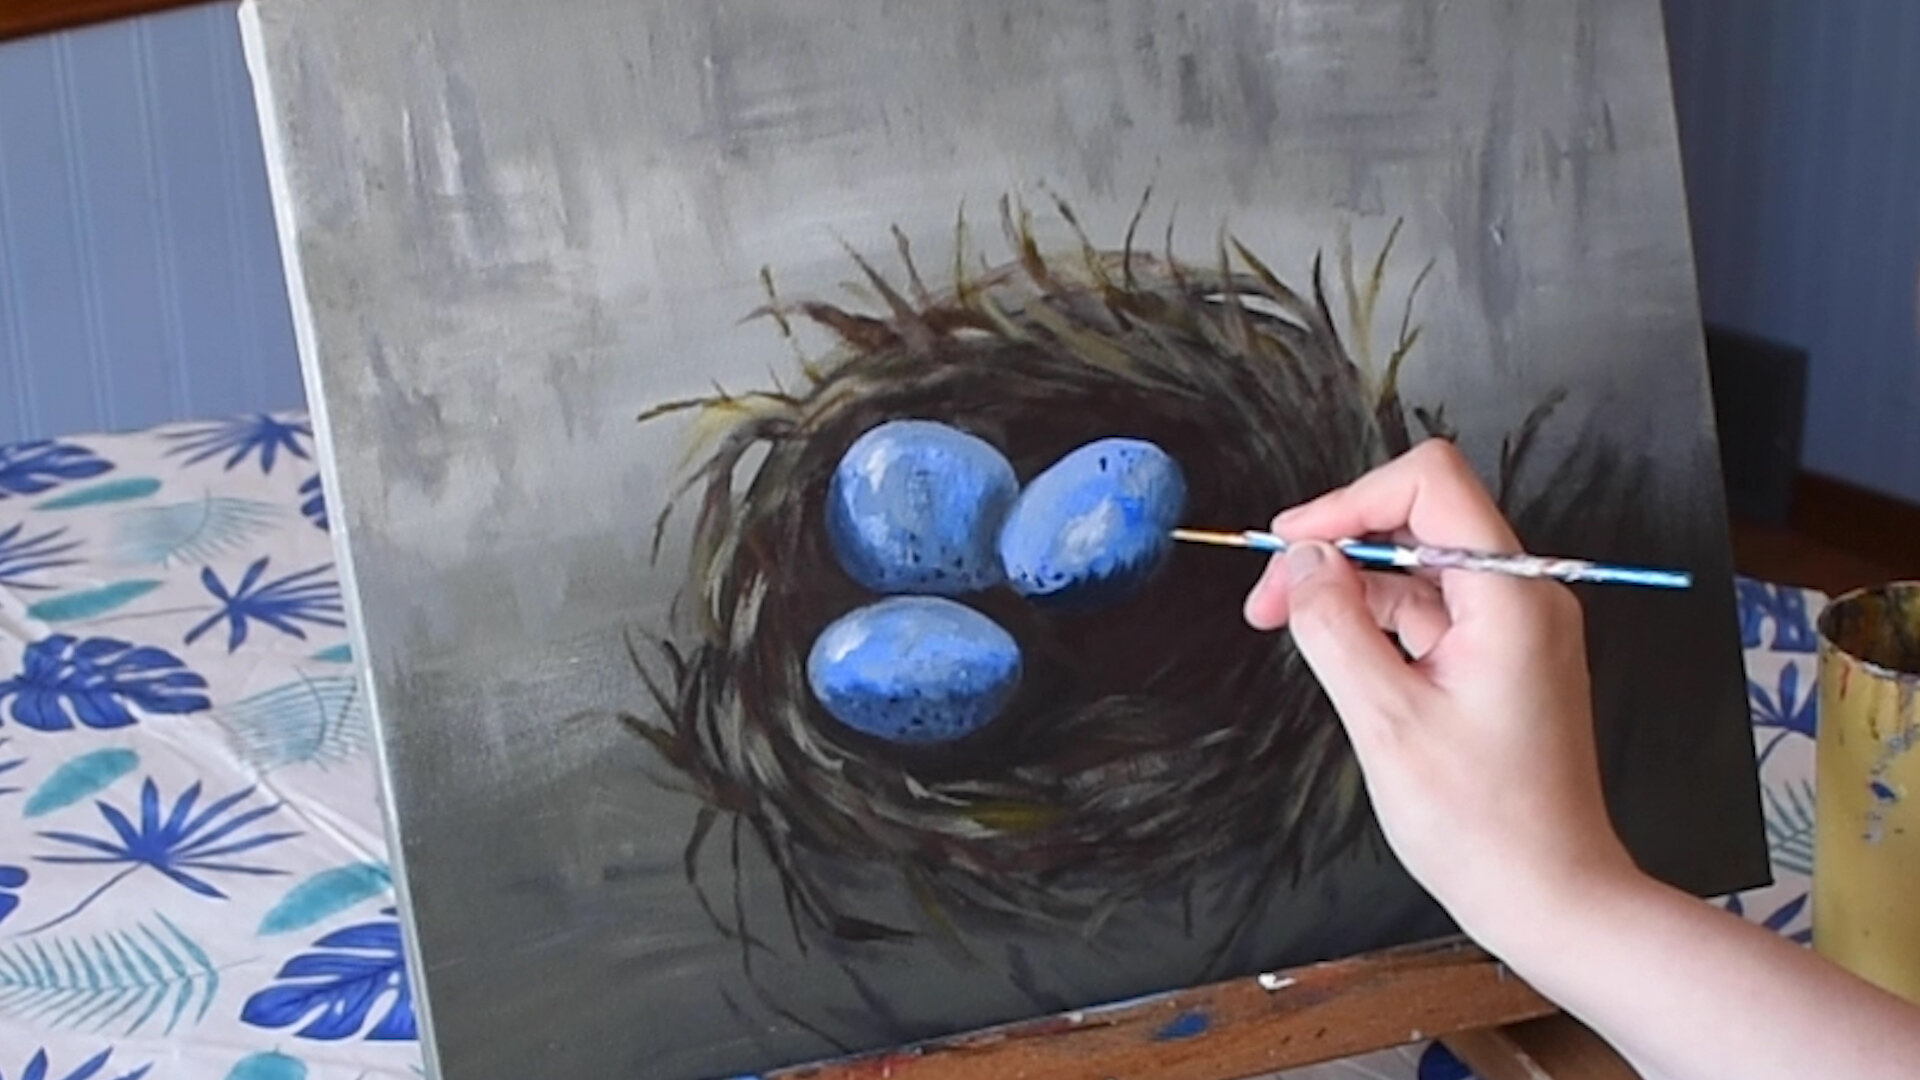
Bird’s nest still life painting - watch how to paint the eggs- here!

Bird’s nest still life painting - watch how to paint the eggs- here!

4. Paint in the direction of your object. This sounds obvious but a lot of beginner painters make the mistake of painting all objects with long flat straight brushstrokes. This ends up making round objects like lemons, apples and vases look flat and lack having a form. I have created a great short YouTube video to help with this- click here!

5. Remember to paint in layers and take your time! You don’t need to finish your painting in one sitting, taking your time allows you to add more details which helps make the painting more realistic. If you don’t like something you can paint over it -this is why I love acrylic painting!

Bonus tip:

If you are painting a still life over a day take a photo of it to ensure you are capturing the same lighting and that objects haven’t moved!

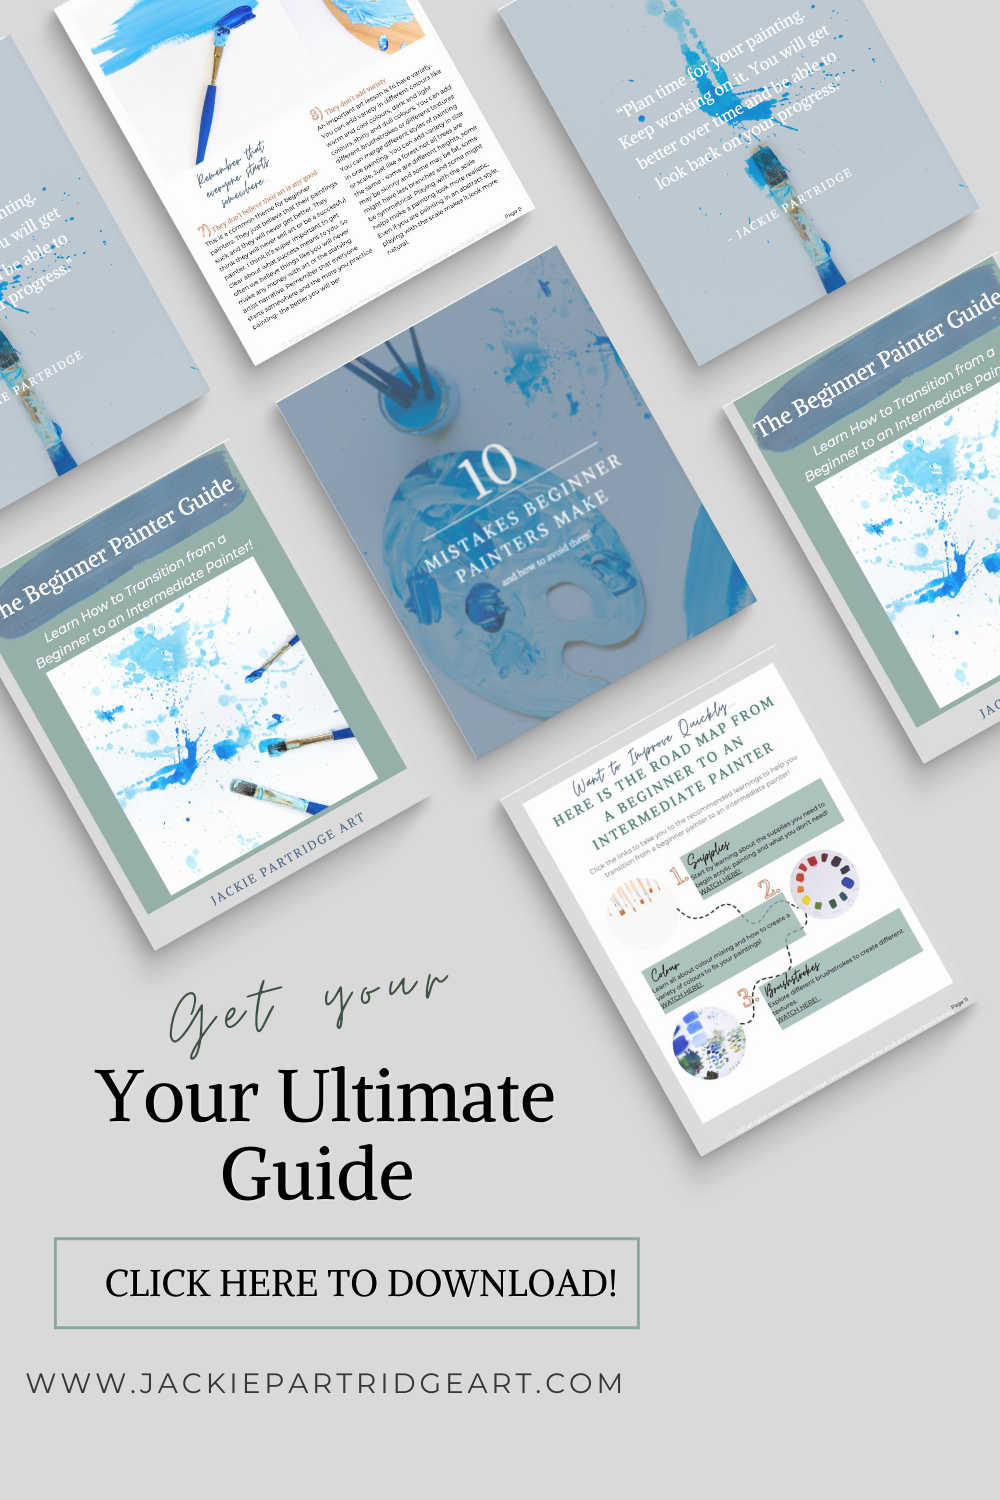
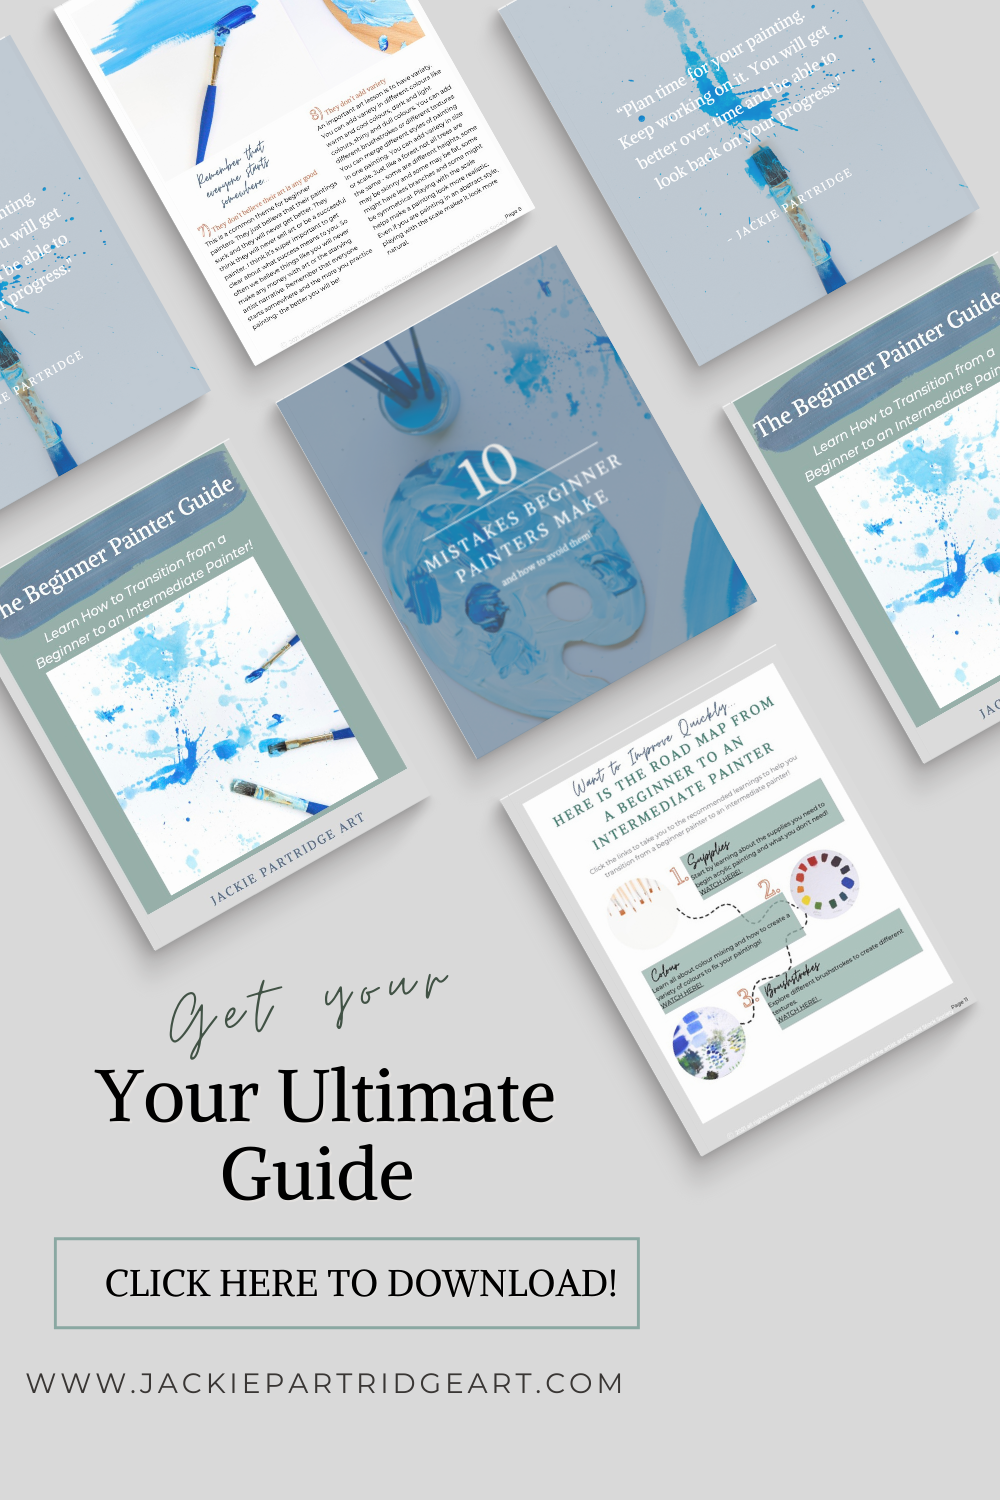
You can learn more about acrylic painting by checking out my FREE 16 Page Guide - 10 Mistakes Beginner Painters Make and How to Avoid Them!


I would love to see your still life paintings and give you feedback! tag me on instagram @jackiepartridgeart and use the #jackiepartridgeartclasses

I invite you to subscribe to my NEW YouTube Channel where I have new videos for beginner acrylic painters every two weeks!

- Check it out here!

Practice Painting a Still Life

How to Paint a Lemon

How to Paint Round Forms like Eggs

How to Paint a Pumpkin

How to Paint a Poppy

Want to improve your painting quickly? Try my painting coaching!

Follow me on social media by clicking on one of the icons below for more great tips!

Paint Tutorials - Full Videos on my New Youtube Channel

View painting tutorials for beginner acrylic painters on my YouTube Channel. Check out my New YouTube channel where you can access free painting video lessons including small short videos on tips and techniques like colour mixing. Learning about what art supplies you need to get started. As well as full painting tutorials from start to finish that are creative and simple for beginners.

I am a trained painter in acrylics. I have my Master of Fine Arts and I am also a certified teacher. With my teaching experience, I make my painting tutorials easy and simple to understand. My videos are perfect for beginner painters and there are even videos that are easy enough for kids to do!

Click the links under the images to access these YouTube videos!

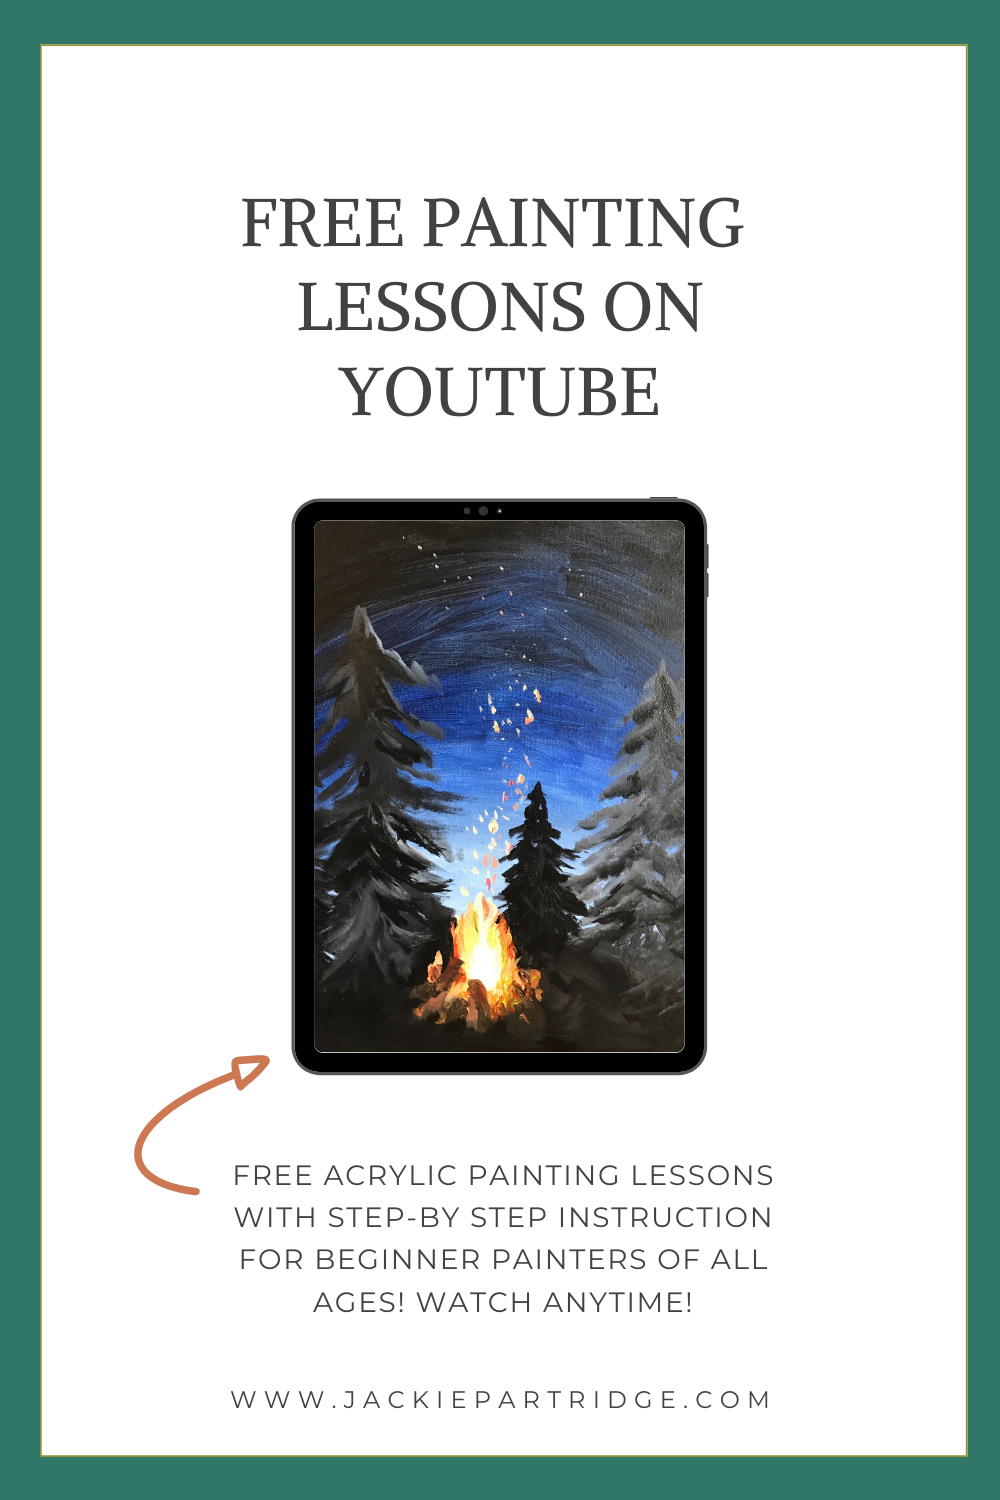
Paint a campfire from start to finish - easy enough for kids age 7+ to do! https://youtu.be/EjcHdErkTyQ

Paint a campfire from start to finish - easy enough for kids age 7+ to do! https://youtu.be/EjcHdErkTyQ

If you like these videos be sure to subscribe new videos come out each month!

You can view my channel here - https://www.youtube.com/channel/UCJQ33KVL3NJpZ7ahIeLEpeA

Paint a Mermaid Tail perfect for beginner artists age 7 and up! https://youtu.be/bIdw1EcqEQo

Paint a Mermaid Tail perfect for beginner artists age 7 and up! https://youtu.be/bIdw1EcqEQo

Not sure about what art supplies you need to get started? Check out this blog post! I share all the painting supplies you need before you watch any of my acrylic painting tutorials!

If you complete a painting I would love to see it and give you feedback and a virtual hug! Tag me on Instagram @jackiepartridgeart or use the hashtag #jackiepartridgeartclasses

Click the Image to Pin it for Later! Learn acrylic painting by watching these painting tutorials

Click the Image to Pin it for Later! Learn acrylic painting by watching these painting tutorials

If you are new to acrylic painting and you would like to improve your painting skills - click the button below where you can download my FREE guide on how to become a better acrylic painter by avoiding the 10 common mistakes beginner painters make!

Is there something you are dying to learn about painting with acrylics. Leave me a comment below!

Happy Painting!

Check out more of my kids acrylic painting lessons on my blog!

Other Popular Painting Lessons for Kids:

How to Paint a Simple Bee

How to Paint a Halloween Pumpkin

Painting Desserts

How To Add Freshness to a Stale Art Practice -Artist Tips

Want to know how to add freshness to a stale art practice? I will explain how. I know it can be difficult to make time for your art practice but it should be your top priority. Of course there are times where you won’t feel inspired like if you are sick or busy with other things. As an artist, I have found myself sometimes getting into ruts with my creativity. There are days, weeks and months where I don’t feel driven to make new art or I’m just too busy to be creative. Here’s how you can add some freshness to your art practice!

Does this sound familiar?

I have been busy lately planning an online art class that I am currently teaching for a private school. I have used my spare time to take on creative projects which has helped me to take care of my mental health. When you have taken a long break from your art practice it is easy to forget how beneficial art is in terms of being therapeutic, how it makes you feel and why you fell in love with it in the first place! I’ve made it a goal to try to make art or do something creative each day…

Bonus Tip: learn a new skill like ceramics to stay inspired to make art. Playing with clay and tools to try something new!

Bonus Tip: learn a new skill like ceramics to stay inspired to make art. Playing with clay and tools to try something new!

It’s important to add freshness to a stale art practice to help keep you inspired and making art more consistently! I have added 7 tips for you to try to feel creative again!

Here are some fun ways to get back to a creative process that might have been previously on hold:

  • Get involved in a creative challenge or start your own— searching on Pinterest for creative art challenges is a good way to get inspiration. You can start your own based on your art practice. For example, if you are a quilter you could plan on making a certain number of quilts in a timeframe or if you’re a painter- plan on painting a small 8″x10″ painting everyday. Challenges work as fun goals to complete but they also act as a piece of accountability. Creative challenges can also be a good way to create social media content by updating your audience on what you are working on. As a creative it can be good to work on a series and challenges can help you to develop your own artistic style.  I send an exclusive painting tutorial to my mailing list every season - if you would like to receive that - enter your email at the bottom of this post!

  • Look at application deadlines as motivation— I love looking on websites like Akimbo  -websites like this provide artists with deadlines of submission calls for exhibitions and awards. These deadlines, I find hold me accountable and I write them down in my agenda and apply when I have time.

assorted-petaled-flower-sketches-2378538.jpg
  • Reach out if someone wants a commission or make artwork for a friend or family member’s gift—This can be a good idea to make a little extra money or to have a project to work on. Sometimes, I find I just need a project to keep me busy. Making a gift for someone or a commission  gives me a due date to stick to. You can read more about my commission process here!

  • Make a board on Pinterest for art inspiration or future project ideas— Pinterest is an amazing resource and I love pinning an idea that inspires me to try something similar with my own flair later on.  Check out my Pinterest boards here! 

  • Take a look at your art supplies—reach for something new and experiment and play. Let yourself create without pressure - follow your intuition and do what’s fun! Also this might be a good time to head to the art supply store and pick up something new you have been dying to try! Take a look at my list of my favourite painting supplies here!

Bonus tip: turn to other passions like these plants or gardening to feel inspired again!

Bonus tip: turn to other passions like these plants or gardening to feel inspired again!

  • Experiment and Learn It’s so easy to learn new art techniques and there are so many free and incredible options out there! You can look on YouTube, invest in a course, or head to your local library.

I invite you to check out my YouTube channel all about acrylic painting for beginners. Learn to paint landscapes, flowers, new techniques and more! Simple options that are easy enough for kids to do too are also available!

Click the Image to Pin it for Later!

Click the Image to Pin it for Later!

Bonus

Remind yourself why you love art and why it is so good for you. Does it calm you down, make you relaxed, is it fun or the highlight of the day? If yes, make sure you schedule time. Block off time on your calendar. Create a pop-up reminder on your phone. That way there’s less excuses and “more time” to be creative.

I have also found scheduling art to remove distractions like turning my cellphone on airplane mode to be helpful. Or make sure you studio/art space is clean and ready the night before. Even having a playlist of your favourite songs will get you pumped and ready to create.

I hope you can feel creative soon! I know how frustrating the feeling of not wanting to create can be.

For more tips and to receive an exclusive painting tutorial each season - sign up to join my mailing list below!

I challenge you to make something now - even if it is a simple doodle on a scrap piece of paper it is a step in the right direction!

Follow me on Pinterest for more ideas and resources!

Related Articles

Why I became an artist

8 Reasons I Love Art

A Struggling Artist Secret

How to Stay Motivated as an artist - 5 Tips!

Free Acrylic Painting Lessons -Straight to Your Inbox! 

Free acrylic painting lessons -sent straight to your inbox! Twice a year, I send my email list an exclusive acrylic painting video lesson to your inbox! Please note that the summer painting video tutorial is no longer being sent but make sure you join my email list by clicking on the grey form and entering your email! HOWEVER - IF YOU SIGN UP FOR MY FREE PAINTING GUIDE YOU CAN ACCESS THE LINK! - CLICK HERE TO SIGN UP!

Videos include start to finish instructions and are not on my YouTube Channel - You will have lifetime access to these videos! >>>Enter your email in the blue form below to join!

You will learn how to paint an acrylic painting from start to finish with valuable tips. I am a trained artist in acrylic painting and I am a certified teacher. I have my Master of Fine Arts degree and loads of teaching experience to make painting for beginners a simple process where you can feel confident and have fun! I send an email to my list twice a year where I give you a private link to the video tutorial. You will have lifetime access to the video lesson.

These videos are perfect for you if:

  1. You love art or painting

  2. You want more time to yourself to be creative! 

  3. You are interested in learning more about acrylic painting and developing your skills

  4. You want a fun project to do by yourself or with friends or family (recommended age is 7 and up!)

  5. You are a painter or want to give it a try!

  6. You are beginner or experienced painter

  7. You want to relax and enjoy the therapeutic benefits of painting

  8. You want fun, simple and creative ideas to paint

Enter your email below to get access -so you don’t miss the next video!

This is the Summer Abstract Sunset Painting - sent to my email list in June, 2020.

This is the Summer Abstract Sunset Painting - sent to my email list in June, 2020.

The videos that I send are exclusive videos only for my email list - they will not be shared to Youtube or social media. These videos are special gifts to those who have signed up!

You might be asking what supplies do I need to get started? You can read about the art materials needed in this blog post!

Here’s some amazing examples of student work from people on my mailing list! Perfect paintings for beginners!

Here’s some amazing examples of student work from people on my mailing list! Perfect paintings for beginners!

Interested in Painting and Continuing to Learn and Develop?

Scroll up to the top to join just enter your email address in that grey form! You will receive an email right after you join. Check your junk mail if you don’t receive an email from me right away!

I am always open to suggestions and ideas. If there is something you would like to learn how to paint- you can leave a comment below or send me a DM on my NEW painting instagram account @jackiepartridgeart

If you make a painting from one of my lessons be sure to tag me on Instagram @jackiepartridgeart and use the hashtag #jackiepartridgeartclasses - I would love to see what you create and give you feedback and virtual hugs!

Can’t wait til the next seasonal video? Check out my YouTube Channel with lots of acrylic painting options!

Be sure to subscribe - NEW videos are added monthly!

Don’t forget to join my mailing list - you can click on the button and I will send you a FREE Guide on how to become a better acrylic painter by avoiding the 10 common mistakes that acrylic painters make. By clicking on the button below you will automatically be put on my mailing list and receive my exclusive painting tutorials like the one you have missed!

Want to Have a Piece of Art Commissioned By Me?

Want to have a piece of art commissioned by me? Read on to learn more about the process of getting a piece of art commissioned. As an artist I have been doing art commissions for friends, family and even people I don't know that well for several years.


Creating a successful art commission can be a lengthy process but I have come up with a list of tips to create a faster and more positive process for both the artist and the client. I have 7 things to consider if you are wanting to get an art commission done and 7 things for an artist to consider when offering art commissions.


As a client getting a piece of art commissioned

  • Communicate what you want - be clear and specific if you have a vision in mind

  • Trust your gut-if you don't feel comfortable with anything -then don't go ahead with it

  • Ask for a price estimate if it is not provided to you

  • Figure out the size of the work you want

  • Figure out where you will put that piece of art -this can help determine the dimensions and also the style or colours you like - It is helpful for the artist to see a photograph of your space and know what you like (everyone has their own unique design style)

  • Send inspiration  -whether it's a photograph, colour swatches or a sample of fabric for the curtains that will hang next to the artwork - anything is helpful

  • Make sure you have done your research- Do you like the artist's work?

As an artist commissioning a piece of art I…

  • Give a price estimate that includes the size of the work, materials used, any custom finishes that are requested and possible shipping charges

  • Give an estimated deadline of when the piece will be finished-I take on 6 projects a year usually you will have a commission within 2 months -unless specified by yourself

  • Communicate clearly and ask questions- we will have a meeting or exchange emails to make sure you are happy with the end result

  • Create a sketch or mock up during the consultation process - see my ideas before committing - I will send you progress pictures if requested!

  • I will ask for photos of the work hanging in your space

  • I will send you a contract that explains payment and delivery of the artwork


Interested in Having a Piece of Art Commissioned By Me?

I am an artist based out of Waterloo Region, ON Canada- if you are interested in getting a piece of original art made please fill out the form below. I do art commissions for paper making and acrylic painting. My paintings range in price from $50 (5”x 7”)- $1000 + depending on the size. Handmade paper can be made as 5”x7” or 8”x10” and is anywhere from $25-100 per artwork. Shipping for large paintings over 20 inches will be paid by the customer and all other shipping in Canada and the US under 20 inches will be paid by myself. Please note I only take 6 commission projects per year. If I am full I will put you on my waitlist and I will email you with an estimated time when I can start your commission. I currently have 4 spots for year!

Get Ideas for Art Commissions for Me to Do

Check out my art shop for ideas of handmade paper art

Take a look at my YouTube for ideas of paintings

Fill out the form below to get in touch!

Think about the size of the art you would like and where you would like to hang it. Looking forward to working with you and filling an empty frame!

Think about the size of the art you would like and where you would like to hang it. Looking forward to working with you and filling an empty frame!

9 Tips for Pricing Your Art

Here are 9 tips for pricing your art. Pricing your art can be very difficult. Especially when you start comparing what other artists are charging online. There are a lot of factors for pricing your art to consider. You can read my 9 tips for what to consider when pricing your art below! Feel confident in how to price your art.

But at the end of the day the best advice I received from an old painting professor in university was “you need to price your art at a price you are happy to let it go with”

This statement from my professor completely changed how I see pricing my art.

To-do list and pen to write the tips down for how to price your artwork.

I think in the age of the internet it is so easy for artists or any entrepreneurs to look and compare other people’s prices – but it shouldn’t and doesn’t matter especially when it comes to art.

Although it is easy to compare it shouldn’t be justified because artists have different experience, education, ideal customers and are often working with different art materials.

calculator on a phone and notebook to record art sales.

You need to think about your factors:

  • What is the cost for materials to make the art?

  • Who is my ideal customer and what is their budget for art?

  • What is your intuition telling you?

  • Do you include shipping, taxes, a free gift, custom wrapping, tracking id (all of these extras cost more $$$)

  • How much time did you spend on making the art?

  • Is it framed or not?

  • Do you have a history of sales- if you have a proven record of sales, a large fan base or are known in your region -you might be in demand and are able to charge more

glass piggy bank of money from art sales. Learn the tips to price your art

Other things to consider: 

  • Additional fees -like website fees, studio rental, equipment fees like a camera, Photoshop, Lightroom etc.

  • What is my cost of living, what income do I want to receive for my art? Is this your full time job or a side hustle (if it is your full time job you should consider paying yourself an hourly wage – not minimum wage- don’t short change your experience, skills, education and value you bring!)


You need to price your art with what you are comfortable with. If you think it is priced too low then raise it! You have the ability to change your prices at any time! You should also adjust your prices on a yearly basis especially if you are lacking time to fulfill orders or as you become more experienced your prices should increase.

Remember people don’t need to buy art so the price of it varies hugely – do not compare your prices to the prices of others. Remember what makes your art different is you, your style, your effort, your decisions, your story and the experience that you serve your customers.

You don’t want to undersell yourself – you can always lower your prices and discount or provide a sale but it is harder to drastically raise prices when you started to low in the first place.

Check out my art shop here to see my prices!

Maybe you have thought about doing art commissions? Read this blog post here for tips!

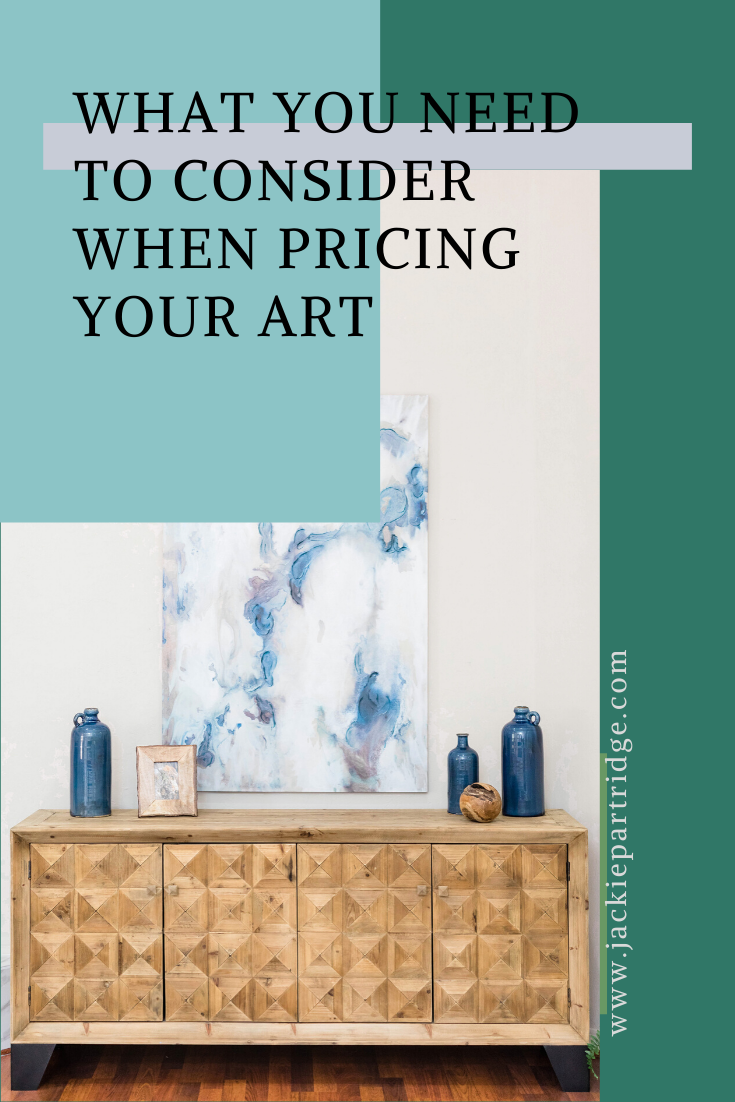
What You Need to Price Your Art - 9 Tips - click image to pin for later

What You Need to Price Your Art - 9 Tips - click image to pin for later

Related Articles

CARFAC fees for Canadian artists

10 Skills to become a better artist

6 Tips for hitting your art goals

Canada Council for the arts - art grants for Canadians

For tips on artist resources follow me on Pinterest and look at my boards like “Art Business” and “Jackie Partridge Art Resources”

Click the social media icons below to stay connected!

budget to help with pricing your art

How I Increased my Art Views on Pinterest by 200% (5 Tips)

How I increased my art views on Pinterest by 200% - if you are curious you will want to read on! I quadrupled my Pinterest views doing a few quick changes – here are my tips below! They are all very simple changes to make! By doing these easy changes I increased my art views on Pinterest by 200%! Learn from artist Jackie Partridge and check out my Pinterest here!

This content has been updated for Pinterest for 2023/2024.

First of all it is important to think of Pinterest as a search engine and not social media – people go on Pinterest to get inspired and look for particular things. People see pins in their feed based on key words they search for.

If you want to improve your Pinterest and that is one of your goals this year - click here for tips on achieving your goals as an artist here!

Improve your Pinterest account with these tips. laptop computer on a desk with donuts.

Tip 1 – Switch to a Business Account

If you have a business -switch to a business account to track how your pins are performing! Check out your analytics weekly to see which pins are popular and what needs improving. Try changing graphics, adding photos or plain text, choose different colours and fonts or ones that reflect your brand. You can even use pin templates online. You will also begin to notice what keywords are popular and when is a good time to post to Pinterest so more people see your pins!

Tip 2 – Use Key Words 

You need to use key words everywhere in titles, descriptions, file name of the photo and board descriptions. The more key words the more chances of people finding your pin. Do your research to plan what key words people might be searching for and that best describe your pin. Brainstorm and research your key words by making sure they describe what the pin and linked website are about.

How I increased my Pinterest Tips on laptop computer.

Tip 3- Create High Quality Content

The first 5 pins you pin should be your own content and you should try to pin every day to attract more viewers and followers. You can pin from your website, blog, instagram and you can repurpose old content that was popular in the past. You can create new content using canva.com or choosing beautiful high quality images. Content that does well on Pinterest is DIYs, how to articles and tips and tricks. You can use your own photos or stock photography.

Tip 4- Pin to Reflect Your Target Audience 

If you are an artist you should definitely have a board dedicated to your own artwork. You should also be thinking of what your ideal customer might be interested in and create boards to reflect that. For example, does your ideal client have kids? Do they like home decor or cooking? You need to delete or hide pins that are irrelevant and delete pins where the link is broken. Keep your personal pins private as secret boards.

Pinterest tips, laptop and smart phone pictured.

Tip 5- Play with New Features on Pinterest

Just like Instagram Pinterest favours new features in their search algorithm. You can try story pins, collection pins, video pins. You will probably see better results by playing around with them. It is also important to share FRESH content (new links and new graphics). I love using Canva to create my pin graphics. Pinterest also loves idea pins and video pins so make sure to use those too!

Related Articles to Help Your art business

6 Tips for hitting your art goals this year

Why I became an artist

10 Lessons I learned in art school

Pinterest is the number one way I drive traffic to my website! You can see my Pinterest profile here! to get more ideas! Follow me on Pinterest to see more helpful resources.

laptop on desk tools for making a better Pinterest account.

Getting Started with Acrylic Painting - the art supplies you need + how to save money!

Getting started with acrylic painting can be overwhelming. It can be challenging when you are new to acrylics and not knowing what supplies you need. Learn from me, Jackie Partridge - I am an acrylic painter with my Master of Fine Arts. I want to help you get better at acrylic painting and feel more confident as a painter!

Buying art supplies can be overwhelming -there are A LOT of options! I really encourage you to use what you have and to plan what you need before buying. Start with the basics then add to your art materials!

I have outlined some basic supplies to get you started with acrylic painting- if you have questions feel free to ask them in the comments! If you prefer to see a video of me explaining the art supplies you can check it out here!

Grab my FREE 16 Page guide for beginner painters- providing you with lots of tips to improve your painting!

Get it here!

How to Save Money on Art Supplies

  • Use supplies you may already own or try asking friends and family. They might have extra, or old supplies they are looking to get rid of

  • Take your time to do research before purchasing online or going to an art supply store. Read reviews and compare prices. Take your time to invest

  • Remember you don’t need everything - you can slowly add to your collection over time

  • Look for options to buy in bulk (they sell canvases in packs or pads of watercolour paper - buy in bulk for items you will use lots of (like white paint)

Save money on paint brushes. Bulk supply of paint brushes. Brushes with paint on them.

Getting Started with Acrylics - the Brushes

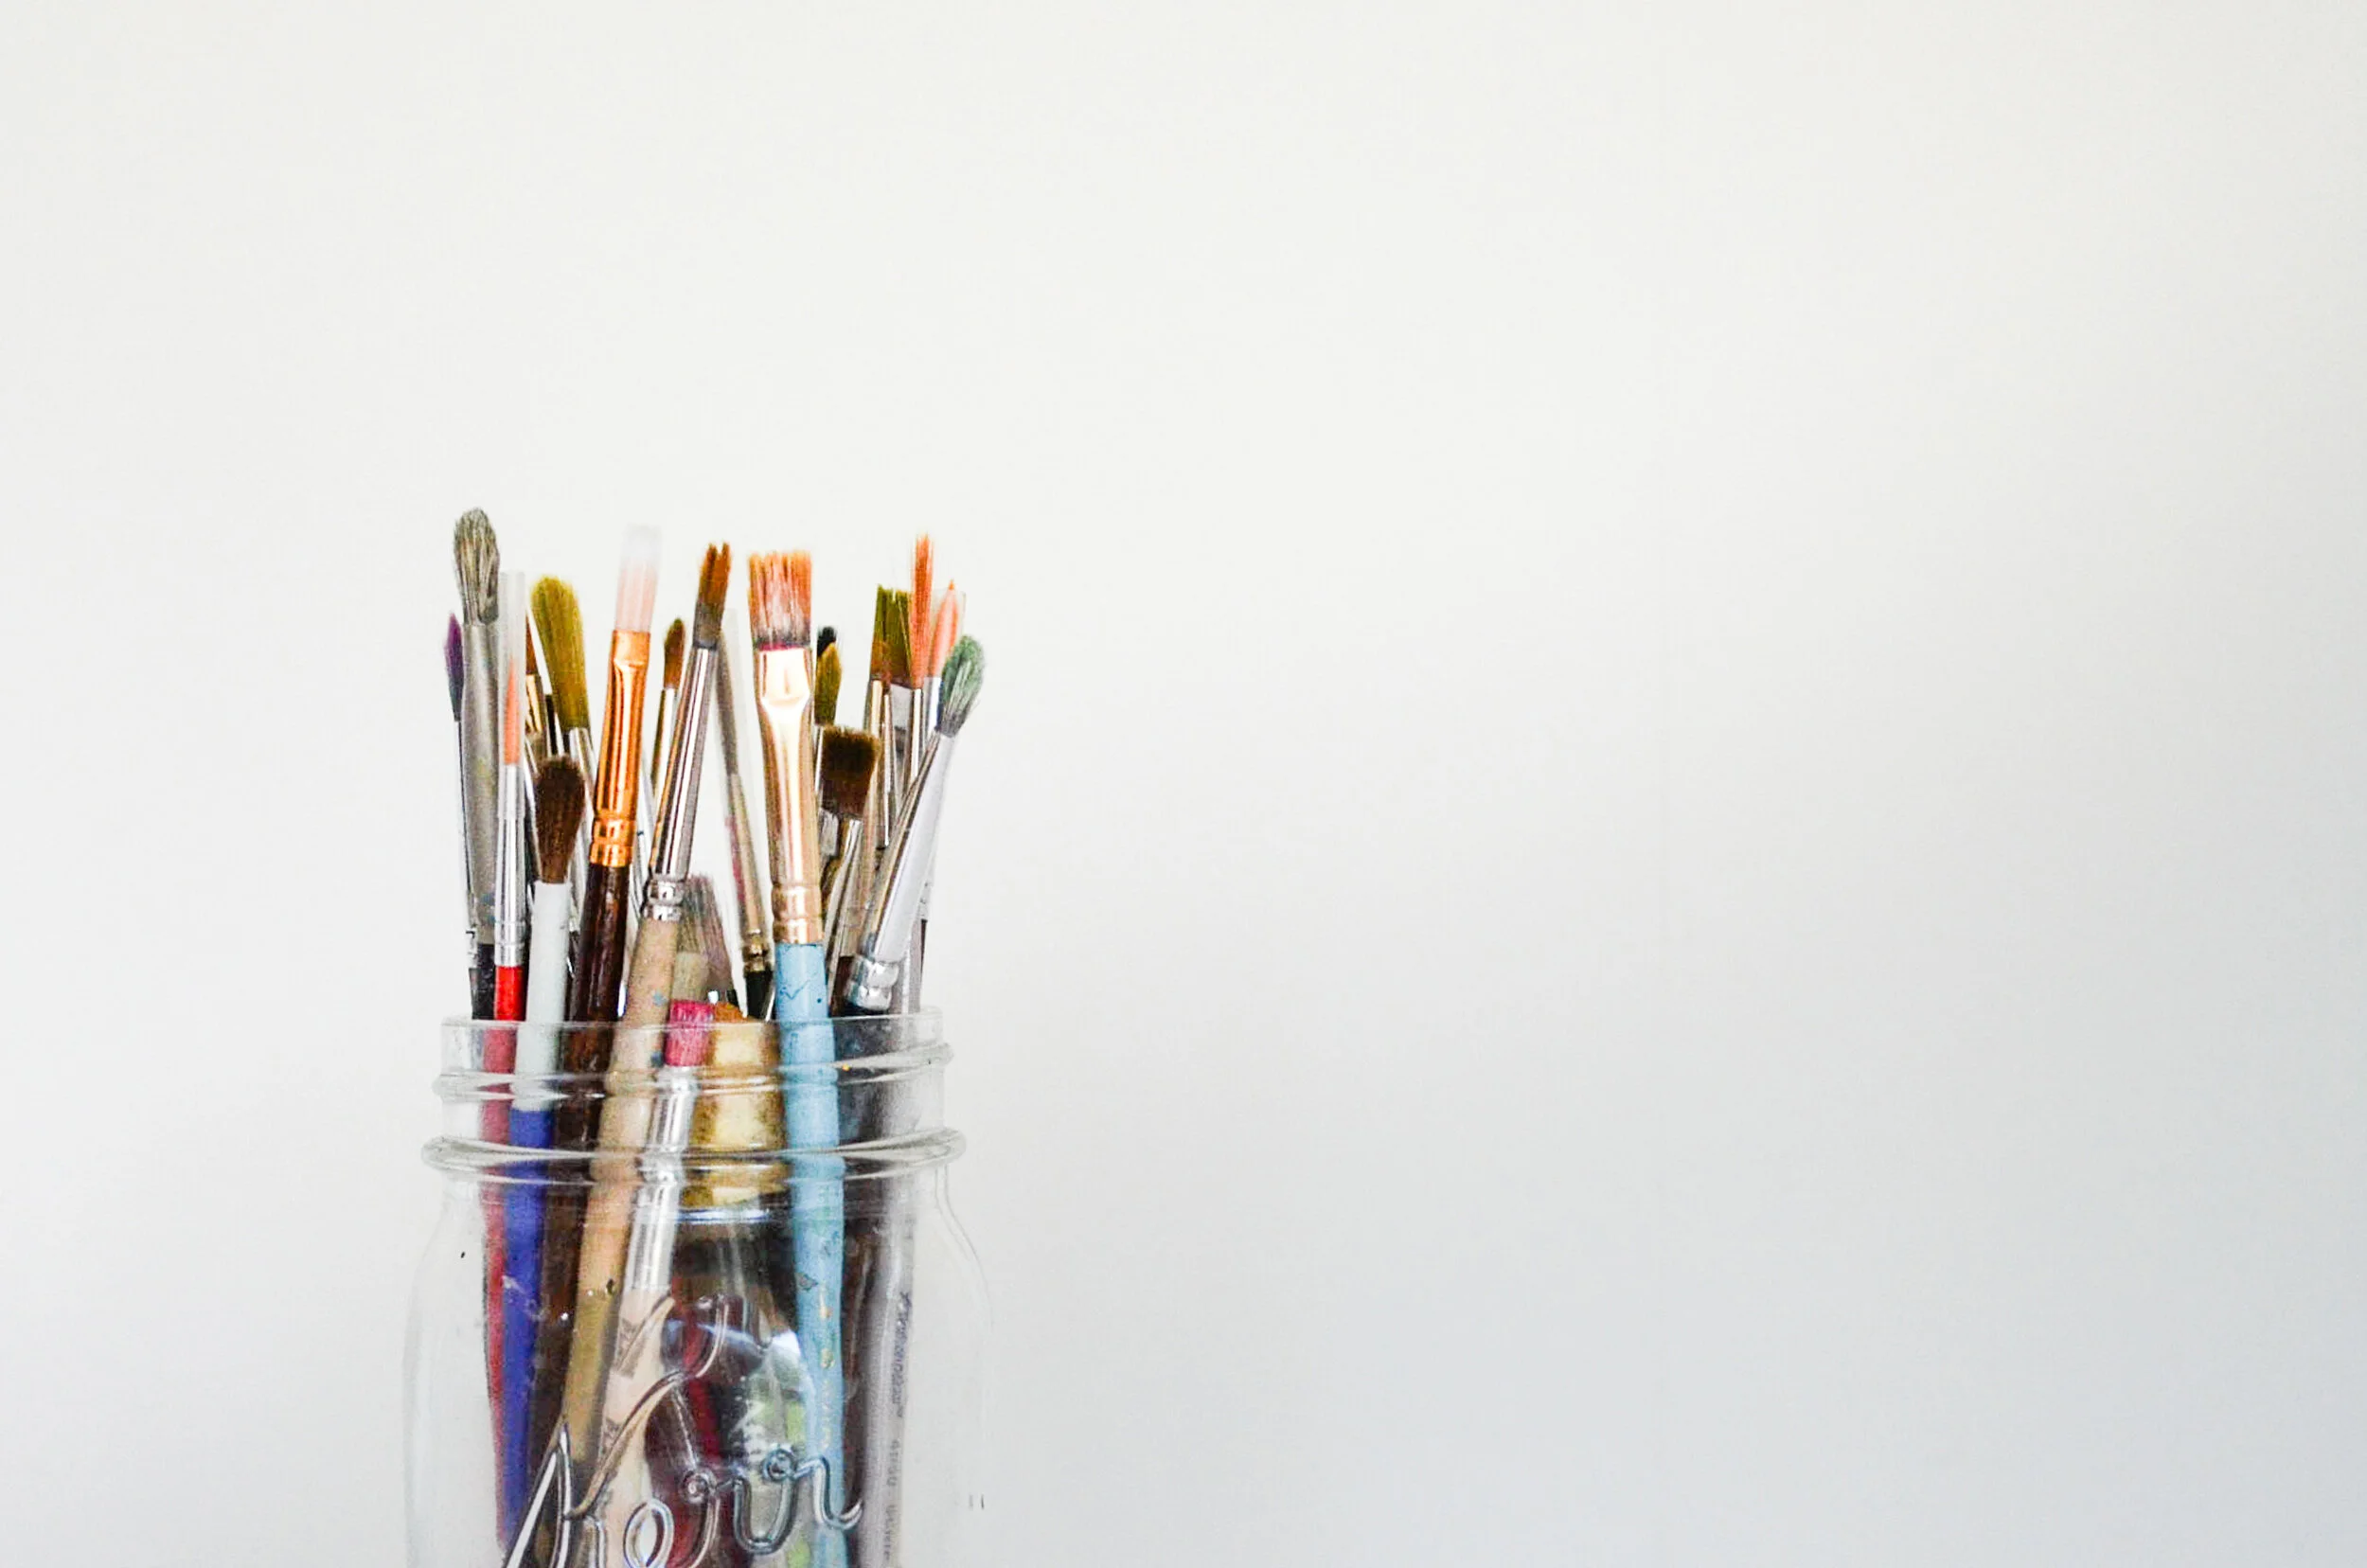
Brushes come in natural hair or synthetic. The synthetic brushes are easier to clean and the brushes are less expensive- these are what I recommend for beginner painters! Brushes also come in long or short handles - it is really up to your preference and what feels best to hold.

Getting started with acrylic includes a jar of paint brushes

Flat brush - have a flat edge to the bristles - I recommend getting a brush that is about 1-2 inches wide. These brushes are good for painting larger areas like a background or sky.

Round brush- these brushes come to a point. I recommend getting a small one for details and more of a medium brush like a size 6 for covering more area. The smallest brush will be for painting details like outlines, fine lines or small dots and the medium one is better for other areas like tree branches.

Tips To Save Money on Brushes:

I encourage you to use the brushes you have and look at price points. Usually you can get a set of small detail brushes that have even more types than the basics I have suggested -it’s good to have back up brushes as smaller brushes won’t last as long because they have less bristles. An affordable brand I recommend for brushes is Artist Loft.

Getting Started with Acrylics -Paint

When buying brands of paint consider your budget. If you are just starting out I recommend getting a student grade paint versus artist quality. What’s the difference?

Student grade- cheaper price, still a good consistency, good pigments for the price you are paying, colours will fade over time (hanging a painting in a sunny room for a decade…) however you can apply a coating to help prevent the paint from fading.

Brands I recommend are: Liquitex -Basics, Rheotech, Amsterdam

Artist grade- paint is more expensive, paint is often thicker (less water in the consistency), the consistency is richer/smoother, the paint will not fade as much over time, the pigments are stronger, darker, deeper colours (there’s more real pigments in the paint which is why the price is higher)

Brands I recommend: Golden

Save money on paint. Use a paint palette and different graded paint to suit your needs. Blue paint on palette

Tips To Save Money on Paint:

If paint is too cheap - it might not be the best quality to use - you might need to add more paint/layers and it will probably not be as nice of a consistency to work with. If you are trying a new paint or different brand than what I list -try buying one paint tube from the brand and test it out - buy a smaller sample size and see if you like it. Make sure to do research and read product reviews or ask other artists. 

In my videos I show you how to only use the primary colours and black and white paint. 

With these basic colours you can mix everything you need: (these are the colours I recommend. You want to choose colours that are as close to the primary colours as possible). Sometimes brands will call them primary red etc. as long as it looks close to a real true primary red -that’s fine!

  • Cadmium Red

  • Cadmium Yellow

  • Cobalt Blue

  • Mars Black

  • Titanium White

Painting Surfaces

You can paint on a variety of surfaces including canvas, canvas board and watercolour paper.

Canvas- you can buy canvases in bulk packs for a lower price. They come already stretched on the wooden frame and primed in a white coating called Gesso. I recommend starting in a smaller size like 9”x12” or 11”x14.” You can buy them from an art supply store- you can get them from the dollar store but the quality won’t be as good.

Canvas board- Canvas board is cheaper than canvases and the boards are flat -if you are doing a lot of painting it will be easy to store them and stack them. Essentially they are the same canvas texture but on cardboard versus stretched over a wooden frame.

Watercolour Paper- if you are painting on a thick watercolour paper (close to 300 lb weighted paper) it will hold acrylics - it is fine to work on paper to save money and gain practice and confidence in your painting. Watercolour paper is one of the most affordable options! Make sure to tape your paper down using painter’s tape to keep the paper from curling. You can also flatten your paper after your painting has dried by placing a stack of heavy books on top!

Save money on art supplies. Art supplies for painting on the table.


Other Necessary Materials


  •  A container for your water to clean your brushes (an old jar or cup will work) - this container will get dirty and stained over time

  • An old rag (old towel or T-shirt is fine) something that you will dab your brushes with to clean them. You can also use paper towel - but I find a rag is a more environmentally friendly and a FREE option 

  • A palette - I bought mine several years ago and have been unable to find one similar to it. I use a reusable plastic palette. It’s long and has separate compartments to mix paint. It also has a lid to store the paint and keep it from drying out. Paint usually lasts about a week and half with the lid on. If you have a plastic palette without a lid any leftover paint will usually dry in a day. Using an old plastic container or old plastic lid would also be fine.

  • A tablecloth and old clothes- acrylic paints do stain so it’s important to protect the surface you are painting on as well as your clothes. Wear old clothes or an apron. I usually paint in a long lab coat that I bought at a thrift store for $10.

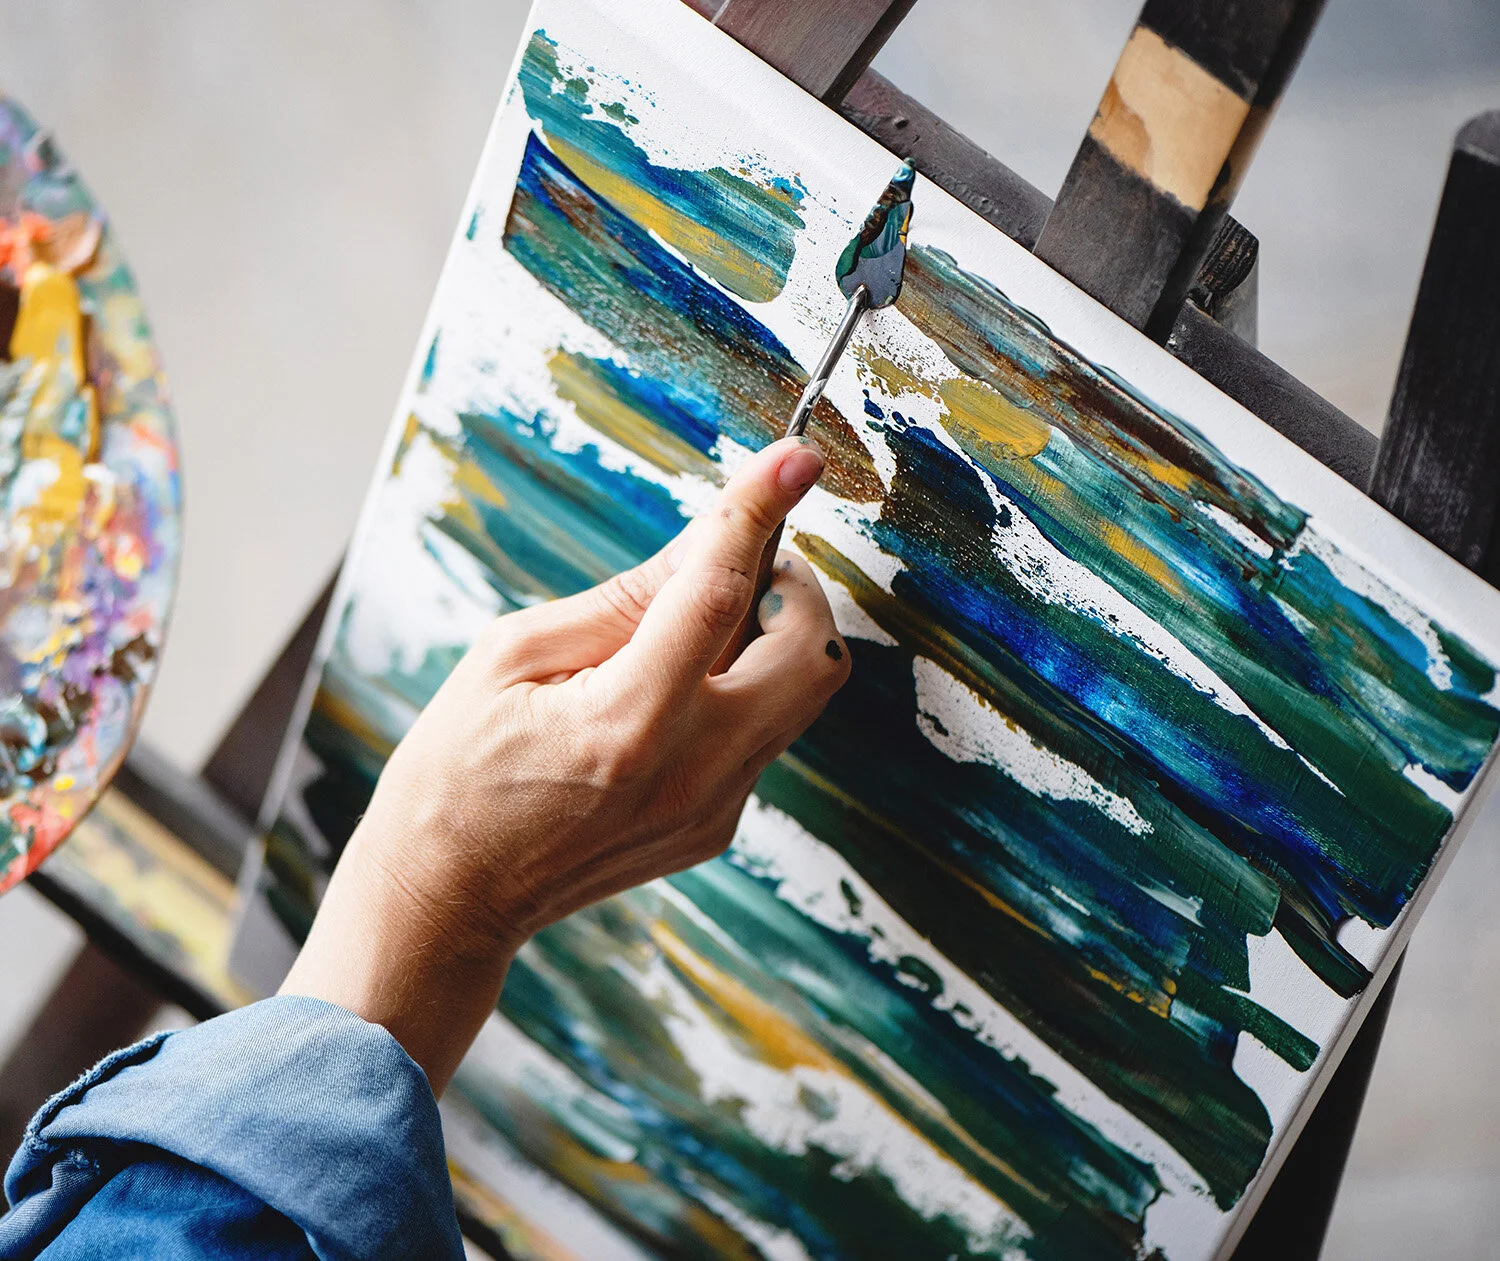
Palette Knife painting with a palette knife and paint palette.

Palette Knife painting with a palette knife and paint palette.


Extras to Have 

I really recommend an easel especially if you have back or neck problems/poor posture. When you are painting it is easy to get in the zone and often you don’t take breaks to stretch which can cause a lot of neck and back pain later on. Having an easel allows you not to be hunching over as much. You can purchase a floor easel that stands on the ground. These easels are adjustable so you can stand while painting or sitting on a stool/chair. You can also get a table top easel, they rest on a table and you can sit while painting. When buying an easel look for something that is not flimsy (some of the aluminum ones are). I find the wooden easels are usually good quality. I like to go to an art store like Curry’s or Michaels to buy easels to see the quality for myself unless there are lots of strong reviews online.

save-money-on-art-supplies.png


Extra paint - paint comes in a lot of colours and it can be overwhelming to choose. I suggest buying extra colours that you can’t mix like having a second blue or a second yellow or red. Having two different tones of these colours will allow you to mix a wider range of colours. Blues come in Cobalt, Ultramarine (these are two that I recommend) also other blues like Phthalo, Cerulean etc. 


Palette Knife- choose from a less expensive option of plastic or wood and metal palette knives. Palette knives are fun and easy to use and help add abstract texture to your paintings. Watch my popular video on choosing the right palette knife -here.


Watch helpful acrylic painting tutorials and check out my acrylic painting tips by clicking the button below!
There you have it! Your list of basic art supplies to get you started. If you have any questions please leave them in the comment section below. Have fun and Happy Painting!

For More Tips -join my mailing list where I send you an email every two weeks full of tips to keep you inspired and creative. You will also have access to discounts on future courses and exclusive video painting lessons every season! Click the button below to grab a FREE Guide of my 10 Tips to Help Make You a Better Acrylic Painter!

Related Articles

Save money by mixing your own colours!

My favourite painting supplies!

Tips for painting with kids

Acrylic painting coaching

Stay connected with me on social media by clicking one of the icons below!